
What is cheese danish? Cheesy Danish is one of the classic bakery products that contains light, flaky pastry and tender, creamy filling. It may sound difficult to make at home, but puff pastry makes it one of the easiest things you can do. Only a handful of daily staple ingredients and some attention are required to make some of the warm, golden Danishes that are special but not fussy. This approach is centred on pure tastes, minimal procedures and polished appearance, so it is arguably appropriate in the family breakfast and casual weekend brunch, as well as in silent tea times. The end product is a pastry, the layers of which are crisp, and the inside is smooth, while being very comfortable and elegant in a bite, and it does not need advanced baking techniques or hours to prepare.
Pastry Preparation
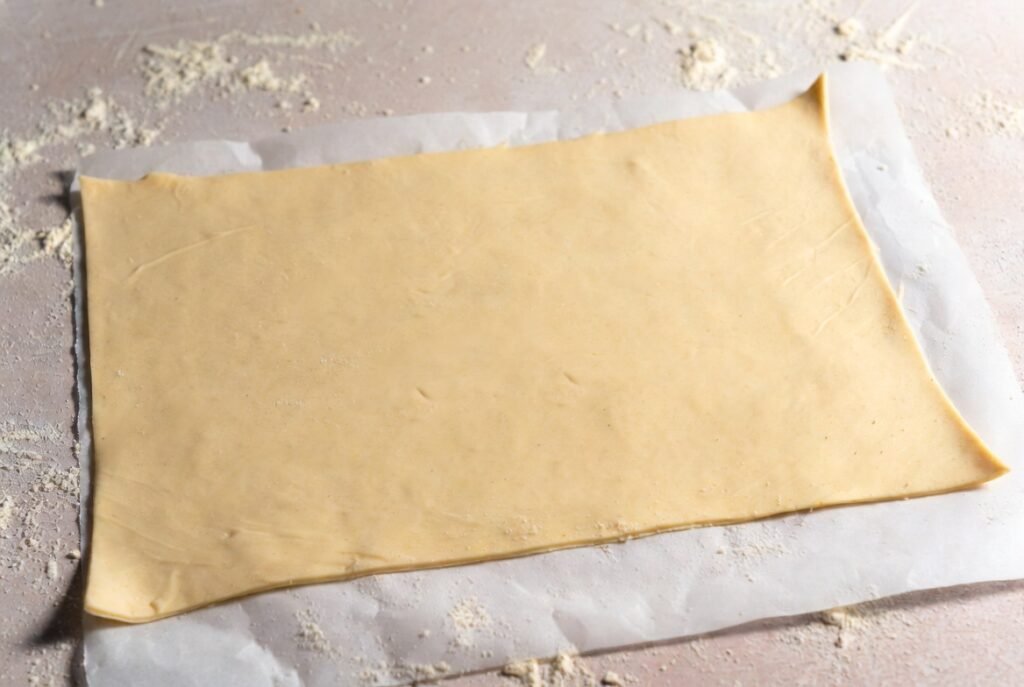
Allow thaw puff pastry to soften in the fridge without becoming hot. Cold pastry is simpler to work with and is more compact and creates crisp layers during baking, which contributes to the Danish its light structure and clean edges.
Cream Cheese Base
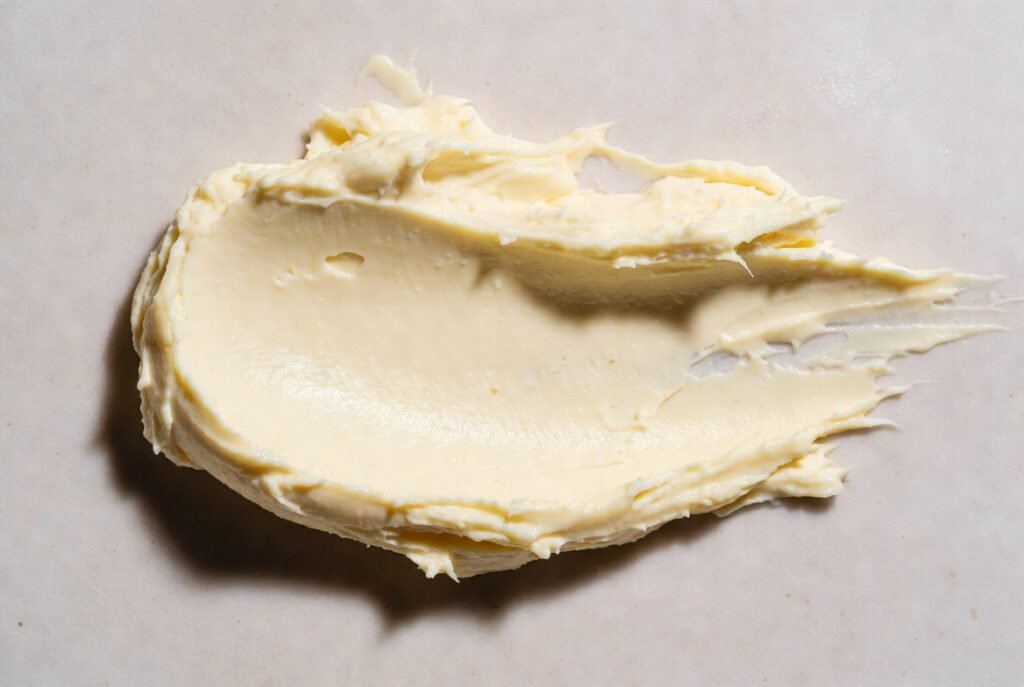
Place softened cream cheese in a bowl. Stir gently until smooth. It is a rich centre-based texture with mild flavour that is typical of a traditional Danish cheese, and mixes with light sweeteners and mild flavouring.
Gentle Sweetening
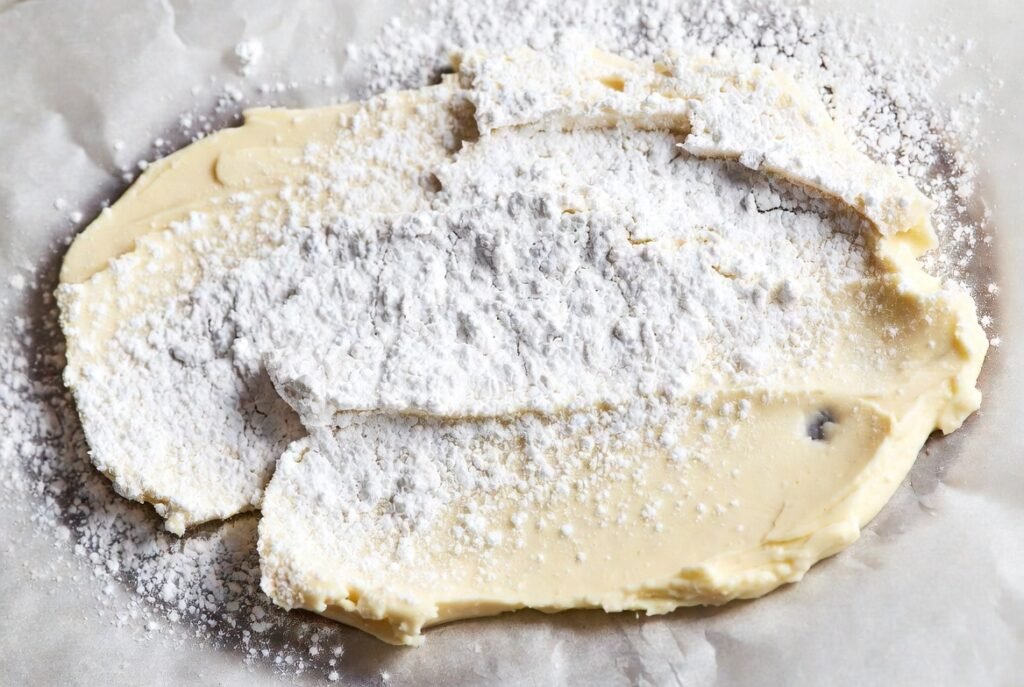
Add cream cheese in small quantities and powdered sugar. Stir gently to retain a smooth texture. The step will enable you to manage the sweetness without altering the filling, which is balanced, soft, and pleasant without overwhelming the pastry layers.
Flavor Balance
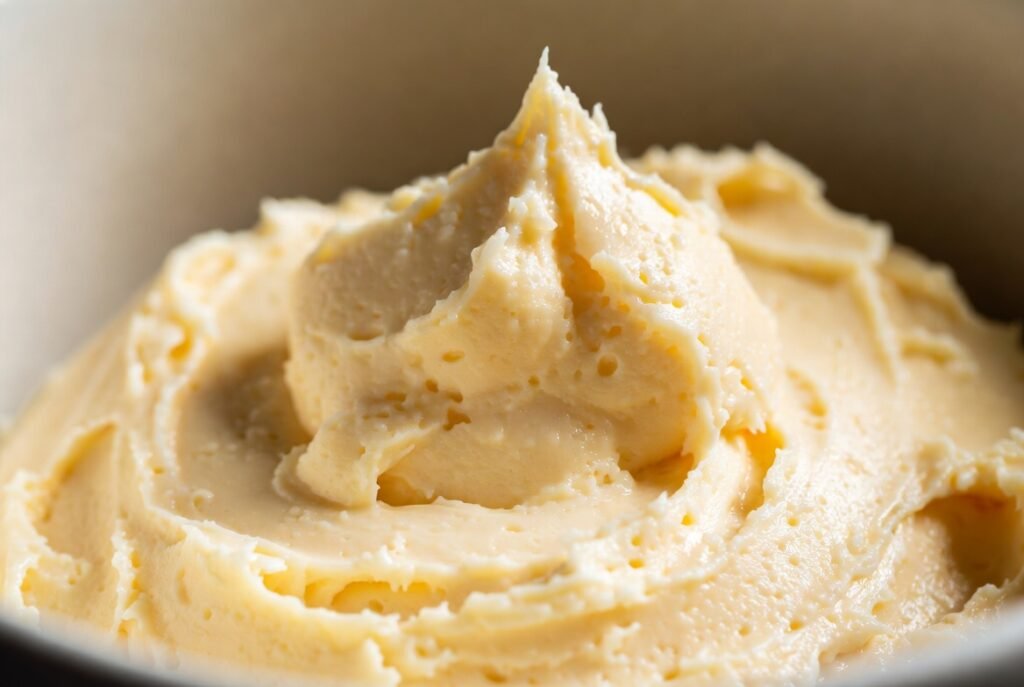
Add very little vanilla essence. It makes it creamier in nature and provides a warm smell. The flavour must be rather modest, such that the pastry and filling complement each other in a subtle and harmonious profile.
Shaping the Pastry
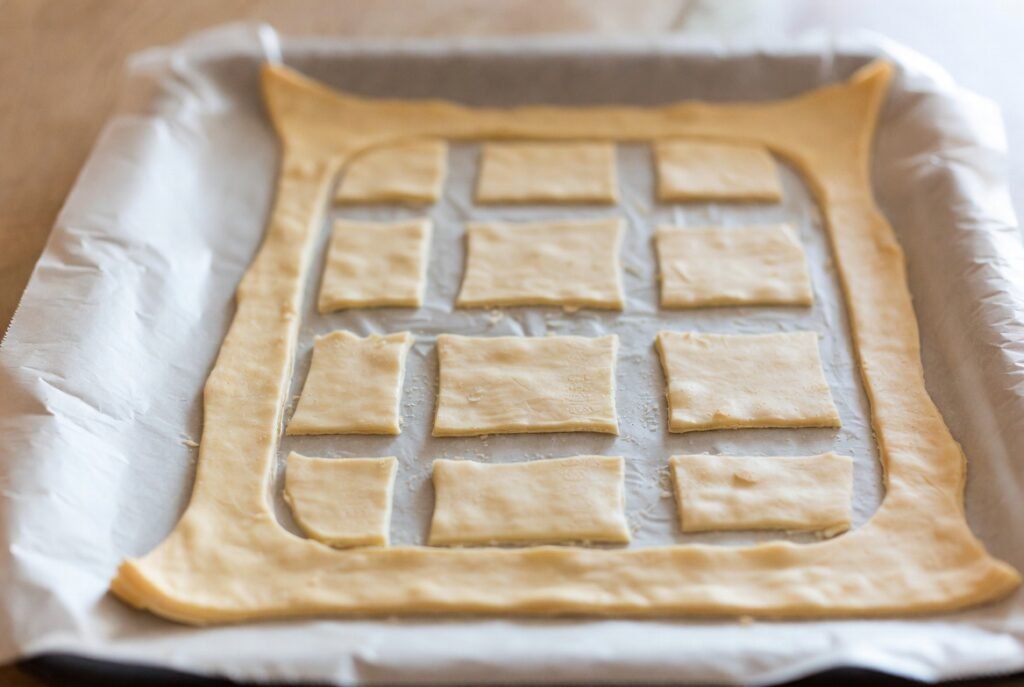
Gently roll the pastry sheet over. Made into square pieces to make them even so that they can bake evenly. The filling is held together by neatly shaped pieces, which assist in making each Danish bake even.
Forming the Centre
Lightly cut a smaller square in each piece of pastry with the help of a knife. Keep pressing in the centre to create space. This shallow border helps in filling and gives a specific shape to the filling once baked.
Filling Placement
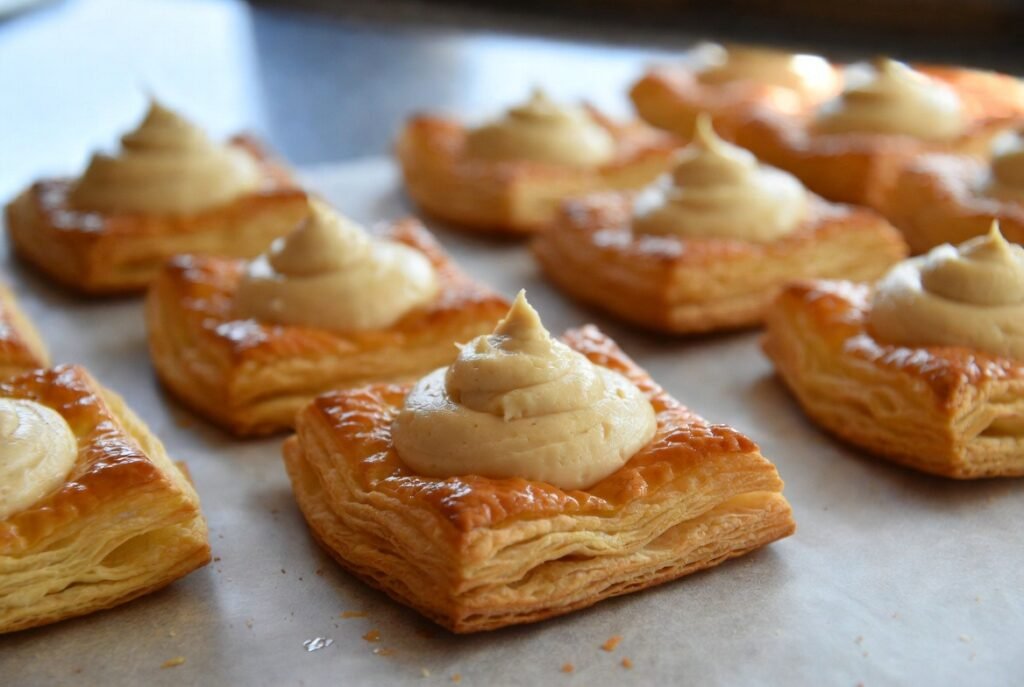
Spoon cream cheese mixture into the middle of each square. Wipe the edges clean to ensure the puffing is correct. Stuffed filling eliminates overflow and the clean appearance of the pastry.
Egg Wash Finish
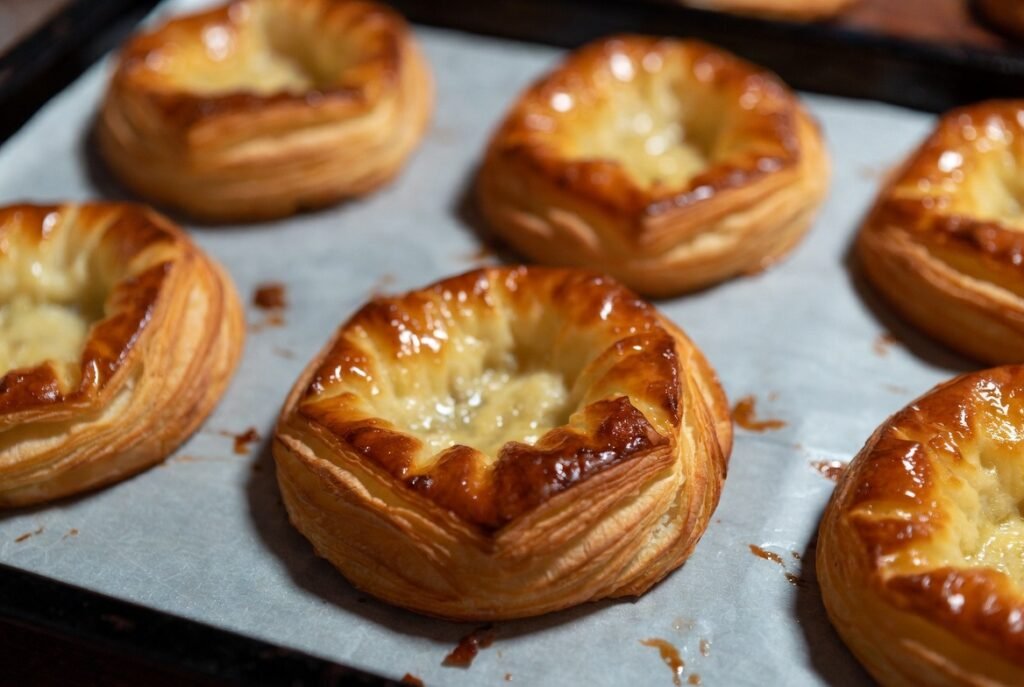
Lightly brush the pastry edges which are exposed with beaten egg. This will lend a gentle sheen and aid in even-browning, so that the Danish will be given an inviting golden hue during baking.
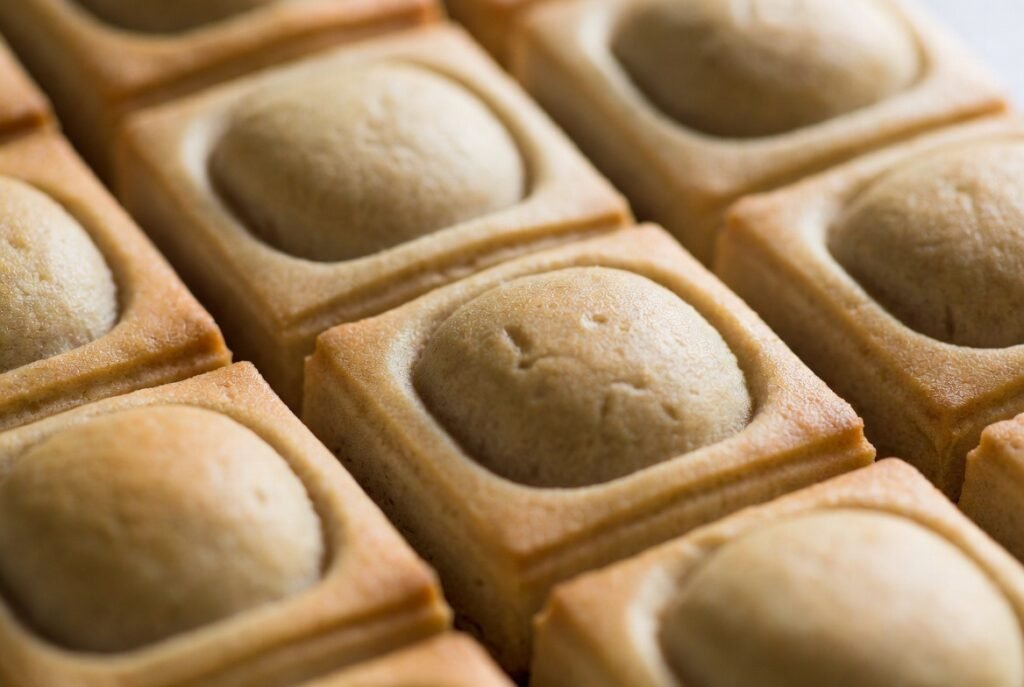
Baking Temperature
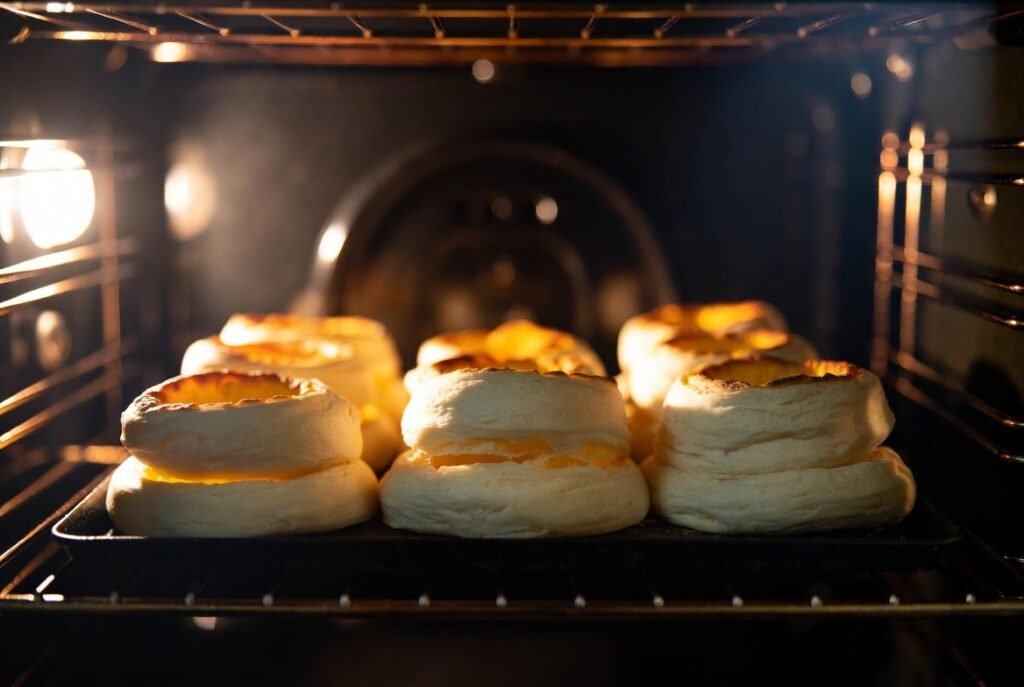
Put the cakes on a greased tin and bake in a quick oven. The consistent temperatures mean the layers expand slowly, so you end up with perfect crisp on the outside and soft in the middle.
Cooling Time
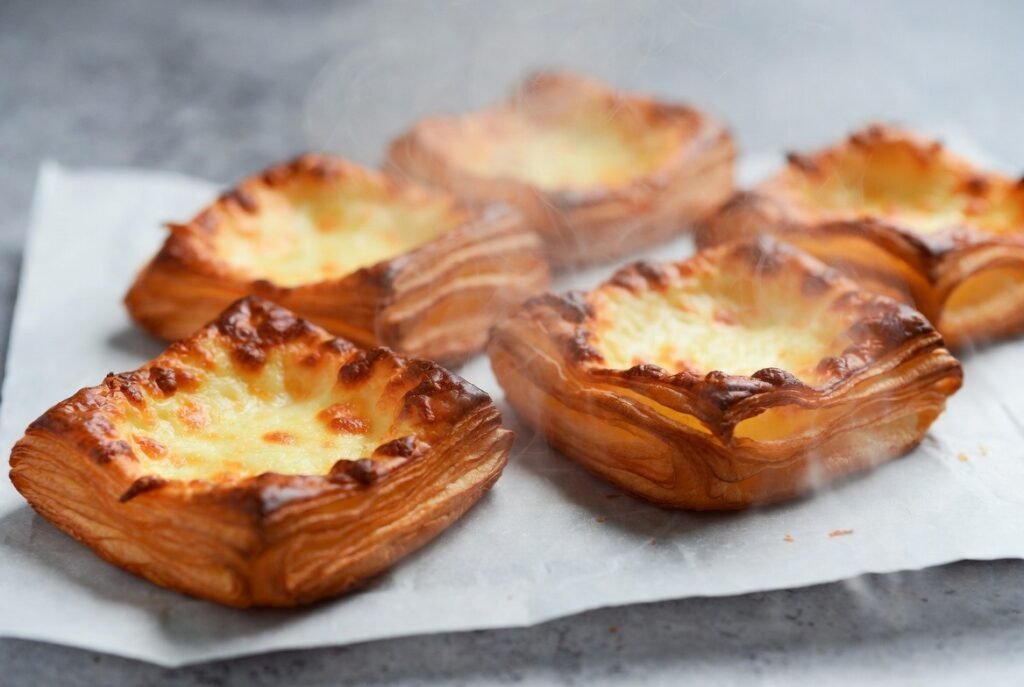
Allow the Danishes to be left on a rack a few minutes after baking. The filling is left to settle and the pastry to harden slightly with cooling and making them simpler to deal with and serve presentably.
Simple Garnish
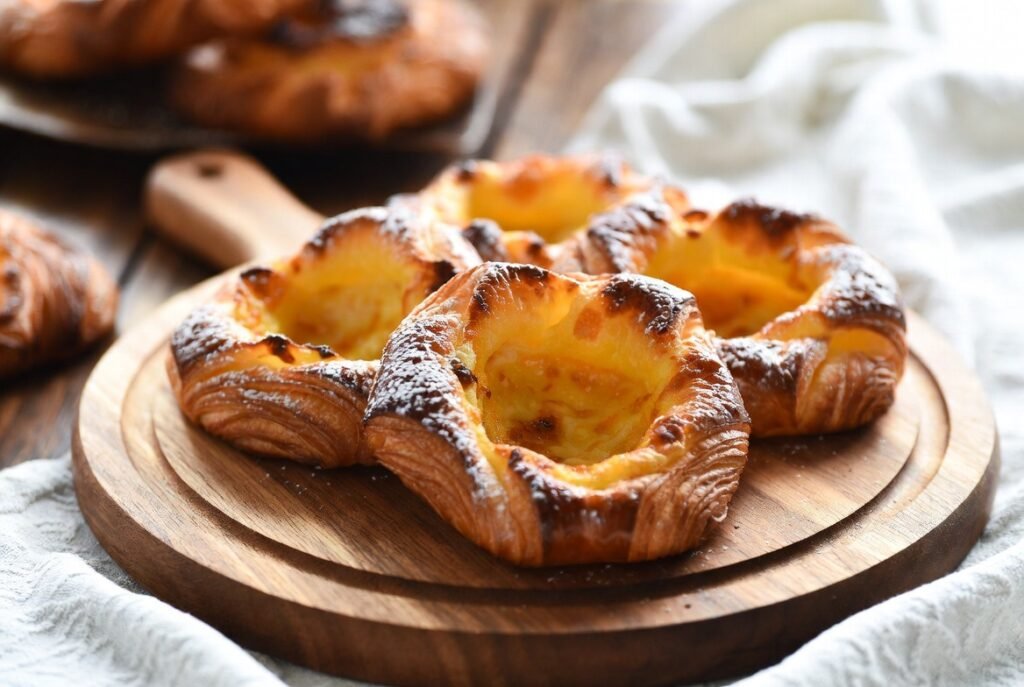
Dust with powdered sugar right before serving. This gentle conclusion adds to the visual appeal and a hint of sweetness without unbalancing its pure flavour, ensuring that it remains the perfect and most inviting Danish.